Why Blush Placement Isn’t One Size Fits All
Blush isn’t just about color it’s about shape. Your face shape plays a major role in how makeup looks and where it should go. A little bit of blush in the right place can lift cheekbones, soften sharp angles, or add dimension where it’s missing. Get the placement wrong, though, and things can start to look off balance fast.
For example, round faces benefit from blush that angles upward to elongate. Square faces need softer, more blended edges to counter strong jawlines. Heart shaped faces? You’re working with contrast between a wide forehead and narrow chin so the goal is balance, not adding more angles. Basically, one swipe doesn’t fit all.
A common mistake is applying blush too low or too tightly on the apples of the cheeks. That can drag the face down or make it look fuller than intended. Another misstep? Copying trends blindly. What works on someone with high, angular cheekbones might muddy the features on a longer or softer face shape.
The takeaway: Know your structure. Then let blush do more than glow let it shape.
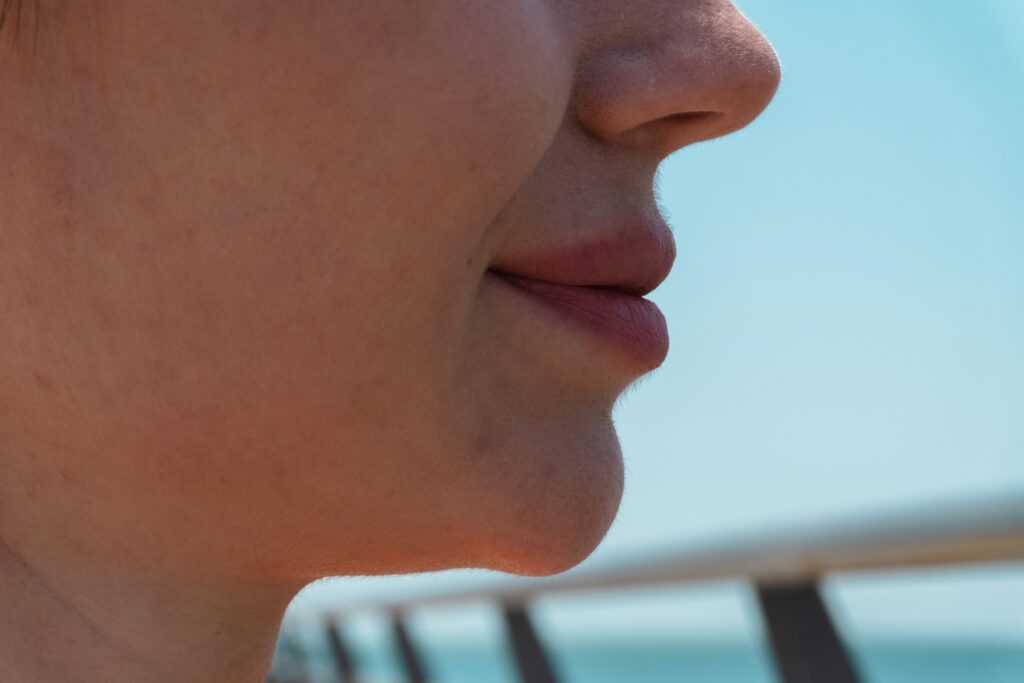
Identifying Your Face Shape

Before you start dabbing blush on your cheeks, it’s worth figuring out your face shape. It plays a big role in what looks balanced and what doesn’t. Here’s a fast guide to the most common shapes:
Round: Full cheeks, soft jawline, width and length roughly the same.
Oval: Slightly longer than wide, balanced features, gentle taper at the chin.
Square: Strong jawline and forehead, about the same width.
Heart: Wider forehead, high cheekbones, narrow jaw or pointed chin.
Long (or Oblong): Noticeably longer than wide, straight sides, maybe a higher forehead.
Not sure what you are? Use the mirror test. Pull your hair back, face the mirror straight on, and trace the outline of your face using a bar of soap or a dry erase marker directly on the mirror. Step back and check the shape. Compare it to the quick guide above. It’s not about precision it’s about spotting the dominant traits.
Also, don’t ignore your cheekbones. Their angle and height can change how blush behaves, no matter the overall shape. Some people have cheekbones that sit higher or angle more sharply than others. Even if you technically have a round face, strong cheekbones can give you more angles to play with. Face shape gives the map. Cheekbones show the terrain.
Round Face
If you’ve got a round face, the main idea is to fake a little lift and stretch. You want to create length, not width, so your blush placement should stay above the apples of your cheeks and angle up toward your temples. Think of it as a soft diagonal not a dot on the cheek situation.
Skip the circular, centered blush that lands right in the middle of your face. That only emphasizes roundness and makes your cheeks the star of the show (not in a good way). Instead, sweep upward and out. Bonus if you blend along the upper cheekbone to add a soft contour while keeping things light.
This method gives a subtle sculpt without needing bronzer or any extra steps. Clean line. Better shape. No fluff.
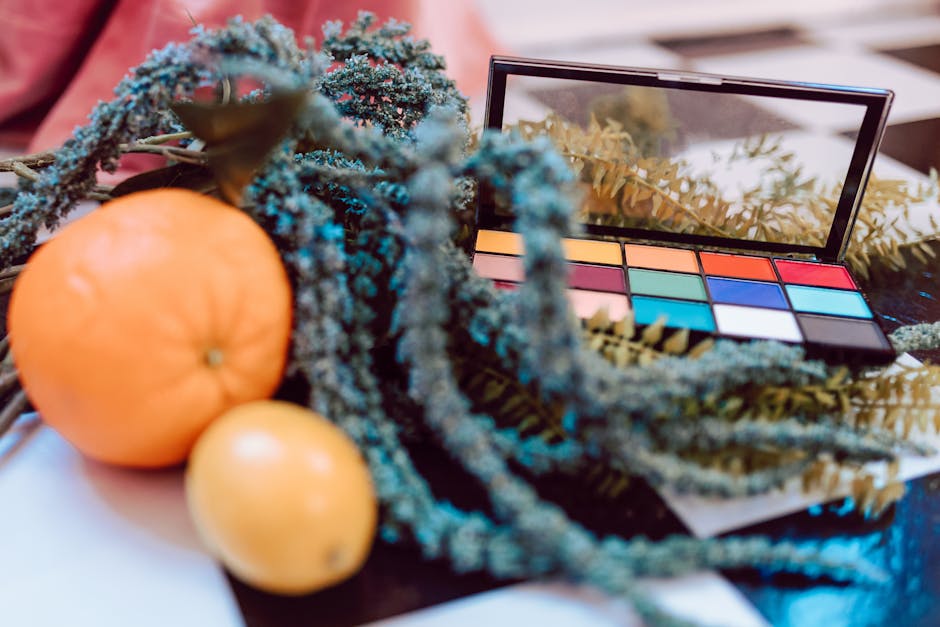
Choosing the Right Product for Your Look
Blush isn’t one size fits all, and neither are the formulas. Powder blush is the go to for oily or combo skin it’s easy to layer, blend, and usually stays put. Great for a matte or soft focus finish. Cream blush, on the other hand, is best suited for dry or mature skin. It melts into the skin, giving a dewy, natural look that doesn’t cake or settle.
Beyond texture, tone matters. If you’re aiming for a fresh, no makeup makeup vibe, lean toward soft neutrals, peach tones, or muted pinks. Want something a little more sculpted or editorial? Reach for bold berries, terracotta, or high impact shimmer. Your overall makeup goal whether it’s barely there or full glam should guide both your formula and color choice.
Need help picking colors or palettes? Check out our makeup palette guide.
Final Tips for Natural Looking Application
Let’s be real blush isn’t just a swipe and go situation if you want it to last and blend right.
Tools That Give You the Best Blend
Brushes and sponges both work, but they serve different purposes. Brushes specifically fluffy or angled ones are great for powder blush. They give you control over placement and help build color gradually. Sponges, especially damp ones, work better with cream or liquid formulas and let you press the color into the skin for a more natural, skin like finish. Not a hard rule, but knowing when to use which goes a long way.
Layering Techniques for Long Lasting Color
Blush fades fast if you don’t layer it right. Start with a cream or liquid blush, blend it in well, then lock it in with a light dusting of powder blush in the same tone. It’s like setting your foundation keeps everything in place longer. If you’re using powder only, build slowly. No need to hit full pigment in one swipe.
Making Blush Work with Bronzer and Highlighter
This is where placement matters. Apply bronzer first it sets the structure under the cheekbone or along the perimeter of the face. Then apply blush slightly above that, sweeping it toward the temple. Highlighter goes last, on the high points like the cheekbone tops. Don’t overlap all three products in the same small area, or you end up with a muddy mix. Think of them as neighbors, not roommates.